
")
Introduction: Why This Heart Shaped Cake is a Must-Bake
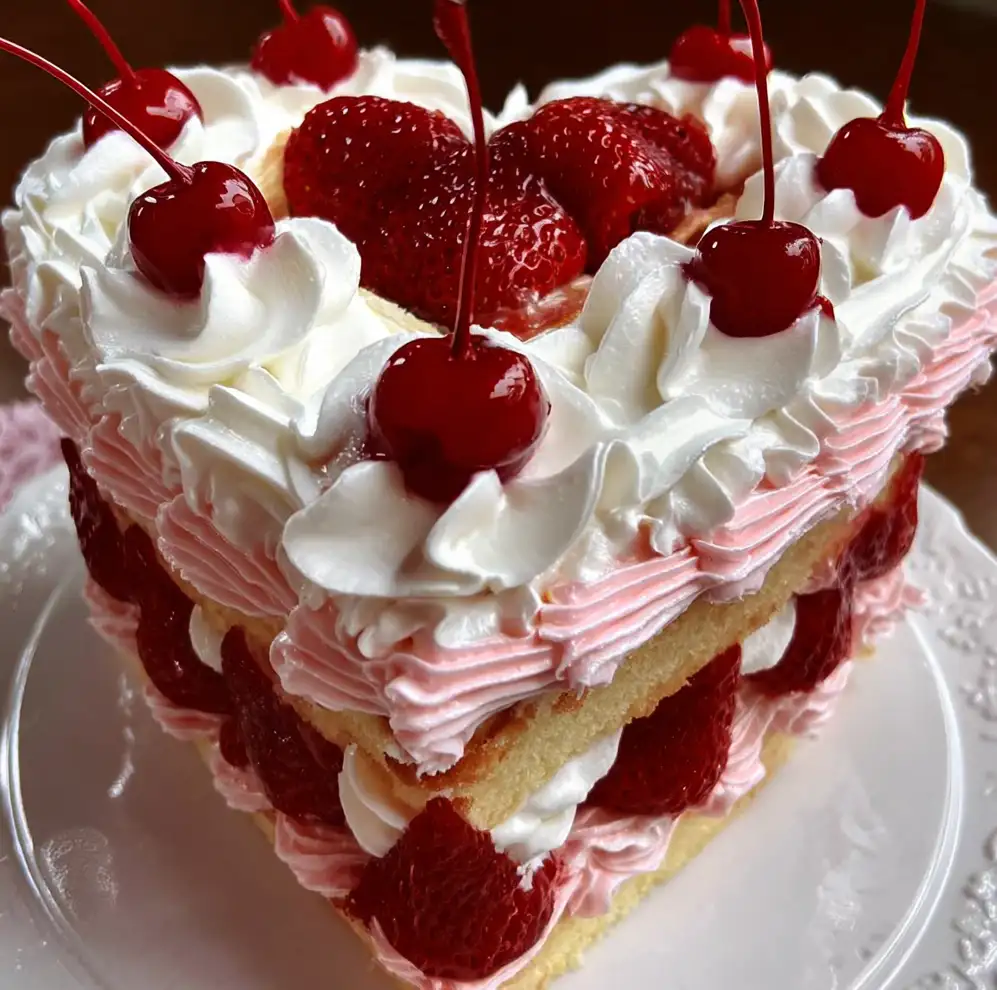
Imagine sinking your teeth into a slice of cake that’s not just visually stunning but also boasts an incredibly tender, moist crumb, bursting with rich vanilla flavor. That’s precisely what awaits you with this heart-shaped cake recipe. It’s more than just a dessert; it’s an edible expression of love, perfect for Valentine’s Day, anniversaries, birthdays, or simply to show someone you care. Forget dry, crumbly cakes of the past – this recipe delivers pure joy with every bite, a buttery sweetness that lingers beautifully on the palate.
My journey to perfecting the Heart Shaped Cakes began with a series of well-intentioned but often disappointing attempts. Some were too dense, others too fragile to hold their shape, and many lacked that quintessential bakery-quality moistness. After countless batches, tweaks, and taste tests (tough job, I know!), I finally landed on *this* recipe. It’s the one I now turn to again and again, and it consistently delivers. This isn’t just a recipe I found online; it’s a culmination of personal experience and a deep understanding of baking science, honed over years in my own kitchen. What makes this recipe truly stand out is its meticulous balance of ingredients, ensuring not just a beautiful heart shape, but an extraordinary taste and texture. You can see more good recipes like this right here on HassnaRecipe.com, where we believe every bake should be a triumph!
Table of Contents
- Introduction: Why This Heart Shaped Cake is a Must-Bake
- How This Recipe Works: Achieving Perfect Texture and Flavor
- Ingredients and Smart Substitutions
- Step-by-Step Instructions: Your Visual Guide to Heart Shaped Cakes
- Expert Tips for Heart Shaped Cake Success
- What to Serve With Your Heart Shaped Cakes
- Storing and Reheating Your Heart Shaped Cakes
- Heart Shaped Cakes: FAQs
How This Recipe Works: Achieving Perfect Texture and Flavor
- Balanced Sweetness: This recipe expertly balances the sugar content, ensuring the cake is delightfully sweet without being cloying, allowing the rich vanilla and buttery notes to shine through.
- Moist Crumb: The careful ratio of fats, liquids, and leavening agents results in an incredibly moist crumb that stays tender for days, never drying out prematurely.
- Holds Shape Beautifully: The batter is formulated to rise evenly and hold its charming heart shape without crumbling or sinking, making it ideal for beautiful presentation.
- Versatile Frosting Base: The neutral yet delicious flavor profile of this cake makes it a perfect canvas for almost any frosting, from classic buttercream to tangy cream cheese.
Ingredients and Smart Substitutions
Here is what you need and why:
All-Purpose Flour: This is the backbone of our cake, providing structure. I prefer unbleached, but any good quality all-purpose flour works. For a slightly finer, more delicate crumb, you can substitute cake flour, reducing the quantity by about 2 tablespoons per cup to compensate for its lower protein content. For gluten-free options, a 1:1 gluten-free baking blend that includes xanthan gum can be used, though texture may vary slightly.
Granulated Sugar: Beyond sweetness, sugar contributes to the moistness and tender texture of the cake, and aids in browning. For substitutes, you can try an equivalent amount of cane sugar. For lower-sugar alternatives, consider a baking-specific sugar substitute, but be aware that it might affect the cake’s texture and browning.
Unsalted Butter: The star fat in this recipe, unsalted butter contributes rich flavor and helps create a tender crumb. Using unsalted allows you to control the salt content precisely. If you only have salted butter, omit the added salt in the recipe. For a dairy-free alternative, a good quality plant-based butter stick (like Miyoko’s Kitchen or Earth Balance) can be used, ensuring it’s suitable for baking.
Large Eggs: Eggs play multiple crucial roles – binding ingredients, adding richness, contributing to leavening, and providing structure. For a vegan option, flax eggs (1 tbsp ground flaxseed mixed with 3 tbsp water per egg, let sit 5 minutes) or a commercial egg replacer can often work, though the final texture may be slightly different.
Whole Milk: Milk adds essential moisture and tenderness to the cake. Whole milk, with its higher fat content, contributes to a richer flavor. For dairy-free alternatives, unsweetened almond milk, soy milk, or oat milk can be used interchangeably.
Vanilla Extract: This ubiquitous flavor enhancer rounds out the sweetness and adds depth. Use pure vanilla extract for the best flavor. Other extracts like almond or lemon can be used for a different flavor profile, or even a touch of rum or bourbon for sophisticated notes.
Baking Powder & Baking Soda: These are our leavening agents! Baking powder provides initial lift, while baking soda reacts with the acidic components (like buttermilk, if you were using it, or the slight acidity from other ingredients) to create a gentle rise and tender effect. Make sure they are fresh for optimal leavening power.
Salt: A crucial ingredient often overlooked! Salt balances the sweetness and enhances all the other flavors. Even a tiny pinch makes a huge difference in the overall taste profile.
Step-by-Step Instructions: Your Visual Guide to Heart Shaped Cakes
Follow these simple steps for a perfect bake:
1. Prepping Your Heart-Shaped Pans
This is a crucial first step! Grease your heart-shaped cake pans thoroughly with butter or baking spray. Then, dust them with a light coating of flour, tapping out any excess. This creates a non-stick barrier, ensuring your beautiful Heart Shaped Cakes release perfectly. For an extra safeguard, you can line the bottom with a piece of parchment paper cut to fit.
2. Mixing Dry Ingredients
In a medium bowl, whisk together your all-purpose flour, baking powder, baking soda, and salt. Whisking ensures that the leavening agents and salt are evenly distributed throughout the flour, leading to an even rise and perfectly balanced flavor. Accuracy matters here; aim for a light, fluffy mixture.
3. Creaming Butter and Sugar
In a large mixing bowl (the bowl of a stand mixer fitted with the paddle attachment is ideal, or use a hand mixer), cream together the softened unsalted butter and granulated sugar on medium speed until the mixture is light, fluffy, and pale in color. This aeration technique incorporates air into the butter and sugar crystals, which creates pockets of air that expand during baking, resulting in a tender crumb.
4. Adding Eggs Gradually
Add the large eggs one at a time to the creamed butter and sugar, beating well after each addition until fully incorporated. Scrape down the sides of the bowl as needed. This gradual emulsification process prevents the batter from curdling and ensures a smooth, homogeneous mixture, contributing to the cake’s fine texture.
5. Alternating Wet and Dry Ingredients
With the mixer on low speed, add about one-third of the dry ingredients to the butter mixture, mix until just combined, then add half of the whole milk, mixing again until just combined. Repeat with another third of the dry ingredients, the remaining milk, and finally the last third of the dry ingredients. Mix only until no streaks of flour remain. Overmixing develops gluten, leading to a tough cake.
6. Filling the Pans Evenly and Baking
Divide the batter evenly between your prepared heart-shaped pans. Use a spatula to gently smooth the tops. Bake in a preheated oven (typically around 350°F / 175°C) for the specified time in the recipe card, or until a wooden skewer inserted into the center comes out clean. This indicates doneness. Baking consistency is key for beautifully risen cakes.
7. Cooling Properly and Decorating
Allow the cakes to cool in their pans for about 10-15 minutes before inverting them onto a wire rack to cool completely. Cooling properly prevents cracks and ensures structural integrity. Once fully cooled, you have the creative freedom to decorate your Heart Shaped Cakes with your favorite frosting, sprinkles, or fresh fruit!
Expert Tips for Heart Shaped Cake Success
- Measure Ingredients Accurately: Baking is a science! Use a kitchen scale for flour and sugar for the most precise results. For liquid ingredients, use liquid measuring cups at eye level. This precision is key to consistent results.
- Do Not Overmix Batter: Once you add the flour, mix only until just combined. Overmixing develops gluten, which can lead to a tough, chewy cake rather than a tender, delicate one.
- Use Room Temperature Ingredients: Ensure your butter, eggs, and milk are at room temperature. This allows them to emulsify properly, creating a smoother, more uniform batter that holds air better, resulting in a lighter cake.
- Grease Pans Thoroughly: A properly greased and floured pan is your best friend against sticking! Don’t skimp on this step, especially with intricate heart shapes.
- Check for Doneness Properly: Rely on the skewer test – insert a wooden skewer or toothpick into the center of the cake. If it comes out clean or with a few moist crumbs, your cake is done. Don’t overbake, as this is a common cause of dry cakes.
- Cool Cakes Completely Before Frosting: Patience is a virtue here! Frosting a warm cake will lead to a melted, messy disaster. Ensure your cake layers are completely cool to the touch before applying any frosting.
- Level Your Cakes: For professional-looking layers, use a serrated knife or a cake leveling tool to gently level any domed tops after the cakes are completely cool.
What to Serve With Your Heart Shaped Cakes
These delightful Heart Shaped Cakes are versatile and pair wonderfully with a variety of accompaniments:
- Classic Frosting Pairings: A rich, creamy vanilla buttercream is always a winner, or for a tangy contrast, a silky cream cheese frosting. Chocolate ganache also makes for a decadent topping.
- Fresh Fruit Compotes and Sauces: A vibrant raspberry or strawberry compote adds a lovely tartness and freshness that cuts through the cake’s sweetness. A drizzle of warm cherry sauce is also heavenly.
- Ice Cream or Whipped Cream: A scoop of vanilla bean ice cream or a dollop of freshly whipped cream can elevate a slice of cake into an even more indulgent dessert.
- Coffee or Tea: For a perfect after-dinner treat or an afternoon pick-me-up, serve slices with a freshly brewed cup of coffee, espresso, or your favorite aromatic tea.
Storing and Reheating Your Heart Shaped Cakes
Proper storage ensures your beautiful Heart Shaped Cakes stay fresh and delicious:
- At Room Temperature: If your cake is unfrosted or frosted with a non-perishable frosting (like classic buttercream that doesn’t contain cream cheese), it can be stored in an airtight container at room temperature for 2-3 days.
- In the Refrigerator: Cakes frosted with cream cheese frosting or fresh fruit should be stored in an airtight container in the refrigerator for up to 5 days. Be sure to bring it to room temperature for about 30 minutes before serving for the best flavor and texture.
- Freezing for Later: For long-term preservation, unfrosted cake layers can be wrapped tightly in plastic wrap, then again in aluminum foil, and frozen for up to 2 months. Frosted cakes can also be frozen, first flash-freezing them uncovered until the frosting is firm, then wrapping tightly.
- Best Reheating Practices: Thaw frozen cakes overnight in the refrigerator. For individual slices, you can gently microwave them for 10-20 seconds to just take the chill off and restore some of that fresh-baked moistness.
Heart Shaped Cakes: FAQs
Can I use a regular round pan and cut it into a heart shape?
What’s the best way to get clean edges on my heart-shaped cake?
Can I make this recipe gluten-free or dairy-free?
How far in advance can I bake these cakes?
What kind of frosting works best for decorating heart-shaped cakes?
Delicious Heart Shaped Cakes
- Total Time: 29 minute
- Yield: 1 (8-inch) heart-shaped cake or 2 (6-inch) heart-shaped cakes
Description
Create beautiful and delicious heart shaped cakes with this easy-to-follow recipe. Perfect for any special occasion, these cakes boast an incredibly moist crumb and rich flavor.
Ingredients
- 2 ½ cups (300g) All-Purpose Flour
- 1 ½ cups (300g) Granulated Sugar
- 1 cup (226g) Unsalted Butter, softened
- 4 large Eggs, at room temperature
- 1 cup (240ml) Whole Milk, at room temperature
- 2 tsp Pure Vanilla Extract
- 1 ½ tsp Baking Powder
- ½ tsp Baking Soda
- ½ tsp Salt
Instructions
- Preheat oven to 350°F (175°C). Grease and flour two 6-inch heart-shaped cake pans (or one 8-inch pan).
- In a medium bowl, whisk together the flour, baking powder, baking soda, and salt.
- In a large bowl, cream together the softened butter and granulated sugar with an electric mixer until light and fluffy (about 3-5 minutes).
- Beat in eggs one at a time, mixing well after each addition and scraping down the sides of the bowl. Stir in the vanilla extract.
- Gradually add the dry ingredients to the wet ingredients in three additions, alternating with two additions of the milk, beginning and ending with the dry ingredients. Mix on low speed until just combined, being careful not to overmix.
- Divide the batter evenly between the prepared heart-shaped pans.
- Bake for 25-30 minutes, or until a wooden skewer inserted into the center comes out clean.
- Let cakes cool in pans for 10-15 minutes before inverting onto a wire rack to cool completely.
- Once completely cool, frost and decorate as desired.
- Prep Time: 20 mins
- Cook Time: 25-30 mins