
")
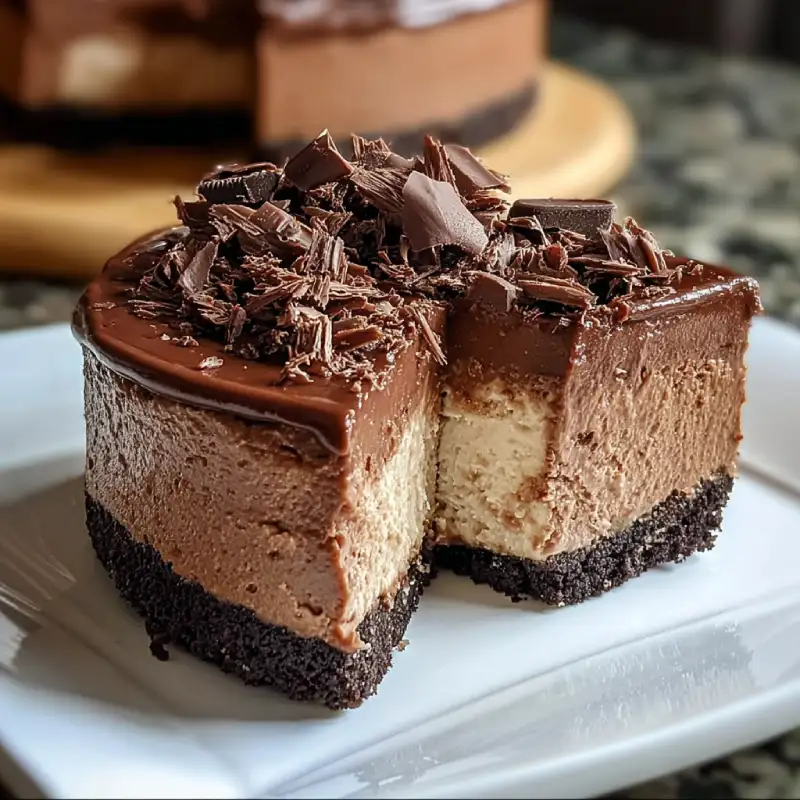
No-Bake Chocolate Cheesecake: 5 Easy Steps to Max Flavor
Table of Contents
- Introduction: The Ultimate No-Bake Chocolate Cheesecake
- Why This No-Bake Chocolate Cheesecake is a Must-Try Dessert
- Gather Your Ingredients: What You’ll Need
- Preparation Time: Quick & Easy Steps to Deliciousness
- Pro-Tips for Your No-Bake Chocolate Cheesecake
- Serving Suggestions & Variations
- Frequently Asked Questions About No-Bake Cheesecakes
Welcome to the ultimate guide for creating a decadent no-bake chocolate cheesecake that will impress everyone! This recipe is your secret weapon for a rich, creamy dessert without ever turning on the oven. Get ready to indulge in maximum flavor with minimal effort.
Introduction: The Ultimate No-Bake Chocolate Cheesecake
Craving something sweet and utterly delicious but short on time? Our no-bake chocolate cheesecake is the perfect solution. It’s simple to make, incredibly satisfying, and ideal for any occasion.
Forget complicated baking techniques. This recipe focuses on delivering a luxurious dessert experience effortlessly. You’ll be amazed at how quickly this comes together!
Why This No-Bake Chocolate Cheesecake is a Must-Try Dessert
This dessert truly stands out. It’s incredibly creamy, packed with rich chocolate flavor, and requires no baking at all. That means less time in the kitchen and more time enjoying your masterpiece.
It’s also a fantastic make-ahead option, perfect for parties or busy weeknights. Plus, who can resist a slice of a perfectly chilled, luscious chocolate cheesecake?
Gather Your Ingredients: What You’ll Need
Before we dive into the fun part, let’s make sure you have all your ingredients ready. Fresh, quality ingredients make all the difference in this delicious no-bake chocolate cheesecake.
- 2 cups chocolate sandwich cookies (like Oreos), crushed
- 6 tablespoons unsalted butter, melted
- 16 oz cream cheese, softened
- 1 cup powdered sugar
- 1/2 cup unsweetened cocoa powder
- 1 teaspoon vanilla extract
- 1 1/2 cups heavy cream, cold
- Chocolate shavings or whipped cream for garnish (optional)
Preparation Time: Quick & Easy Steps to Deliciousness
Ready to create some magic? Follow these five easy steps to craft your perfect no-bake chocolate cheesecake. Each step is designed to be straightforward and rewarding.
Step 1: Crushing the Crust
Start by finely crushing your chocolate sandwich cookies. You can do this in a food processor or by placing them in a Ziploc bag and crushing with a rolling pin. Mix the crushed cookies with the melted butter until well combined.
Press this mixture firmly into the bottom of a 9-inch springform pan. Really pack it down to ensure a stable base! Place it in the refrigerator to chill while you prepare the filling.
Step 2: Crafting the Creamy Chocolate Filling
In a large bowl, beat the softened cream cheese until smooth. Gradually add the powdered sugar and cocoa powder, mixing until fully incorporated and there are no lumps.
Stir in the vanilla extract. In a separate cold bowl, whip the heavy cream until stiff peaks form. Gently fold the whipped cream into the chocolate cream cheese mixture until just combined. Be careful not to overmix, as this can deflate the filling.
Step 3: Assembling Your Cheesecake Masterpiece
Retrieve your chilled crust from the refrigerator. Carefully spread the creamy chocolate filling evenly over the cookie crust. Use an offset spatula or the back of a spoon to create a smooth top.
This is where your easy chocolate cheesecake really starts to take shape! Ensure the filling is spread right to the edges for a perfect presentation.
Step 4: Chilling for Perfection
This is a crucial step for any no-bake chocolate cheesecake. Cover the springform pan loosely with plastic wrap and refrigerate for at least 4-6 hours, or preferably overnight.
Chilling allows the cheesecake to firm up properly, making it easy to slice and preventing a runny mess. Patience is a virtue here!
Step 5: Garnish and Serve Your Delectable Dessert
Once thoroughly chilled, carefully remove the cheesecake from the springform pan. You can run a thin knife around the edge if needed before releasing the sides.
Garnish with chocolate shavings, fresh berries, or a dollop of whipped cream for an extra touch of elegance. Slice and serve! For other dessert ideas, Read our in-depth guide here.
Pro-Tips for Your No-Bake Chocolate Cheesecake
For an even richer chocolate flavor, use high-quality cocoa powder and consider adding a tablespoon of instant espresso powder to the filling. This enhances the chocolate without making it taste like coffee.
Make sure your cream cheese is truly softened to room temperature for a lump-free filling. Cold cream cheese will result in a grainy texture. Also, keep your heavy cream very cold before whipping for the best volume.
Experiment with different crushed cookies for the crust – graham crackers or shortbread would also be delicious. Just adjust the melted butter quantity if needed.
Serving Suggestions & Variations
This versatile no-bake chocolate cheesecake can be customized in many ways! Serve with a raspberry coulis, fresh strawberries, or a drizzle of caramel sauce.
For a mint chocolate twist, add 1/2 teaspoon of pure mint extract to the filling. Or, for a mocha version, dissolve 1 teaspoon of instant coffee in 1 tablespoon of hot water and add it to the cream cheese mixture. Check out more expert tips on Allrecipes for no-bake cheesecakes.
Frequently Asked Questions About No-Bake Cheesecakes
How long does no-bake chocolate cheesecake last?
When stored properly in an airtight container in the refrigerator, your no-bake chocolate cheesecake can last for 3-5 days. It’s best enjoyed within the first 2-3 days for optimal freshness and texture.
Can I freeze no-bake cheesecake?
Yes, you can absolutely freeze no-bake cheesecake! Wrap it tightly in plastic wrap and then in aluminum foil. It can be frozen for up to 1-2 months. Thaw it slowly in the refrigerator overnight before serving.
What if my no-bake cheesecake isn’t setting?
The most common reasons for a no-bake cheesecake not setting are insufficient chilling time or over-mixing the whipped cream into the cream cheese mixture. Ensure you chill it for at least 6 hours, or preferably overnight, and gently fold, rather than vigorously beat, the whipped cream into the filling.