
")
Easy Biko Recipe: 5 Steps to Filipino Sweet Rice
Table of Contents
- Introduction to Biko: A Filipino Delicacy
- Why This Easy Biko Recipe is Perfect For You
- Essential Ingredients for Filipino Sweet Rice
- Step-by-Step Instructions: Making Easy Biko
- Pro Tips for the Best Biko
- Suggested Serving and Storage
- Common Questions About Biko
Welcome to our comprehensive guide on creating an absolutely delicious and easy Biko recipe! This traditional Filipino sweet sticky rice dessert, often enjoyed during celebrations and family gatherings, is surprisingly simple to make at home. Get ready to impress your friends and family with this delightful treat.
Biko offers a wonderful blend of sweet and savory flavors, thanks to its rich coconut milk base and the chewy texture of glutinous rice. Our simplified steps ensure that even beginners can master this classic Filipino delicacy.
Introduction to Biko: A Filipino Delicacy
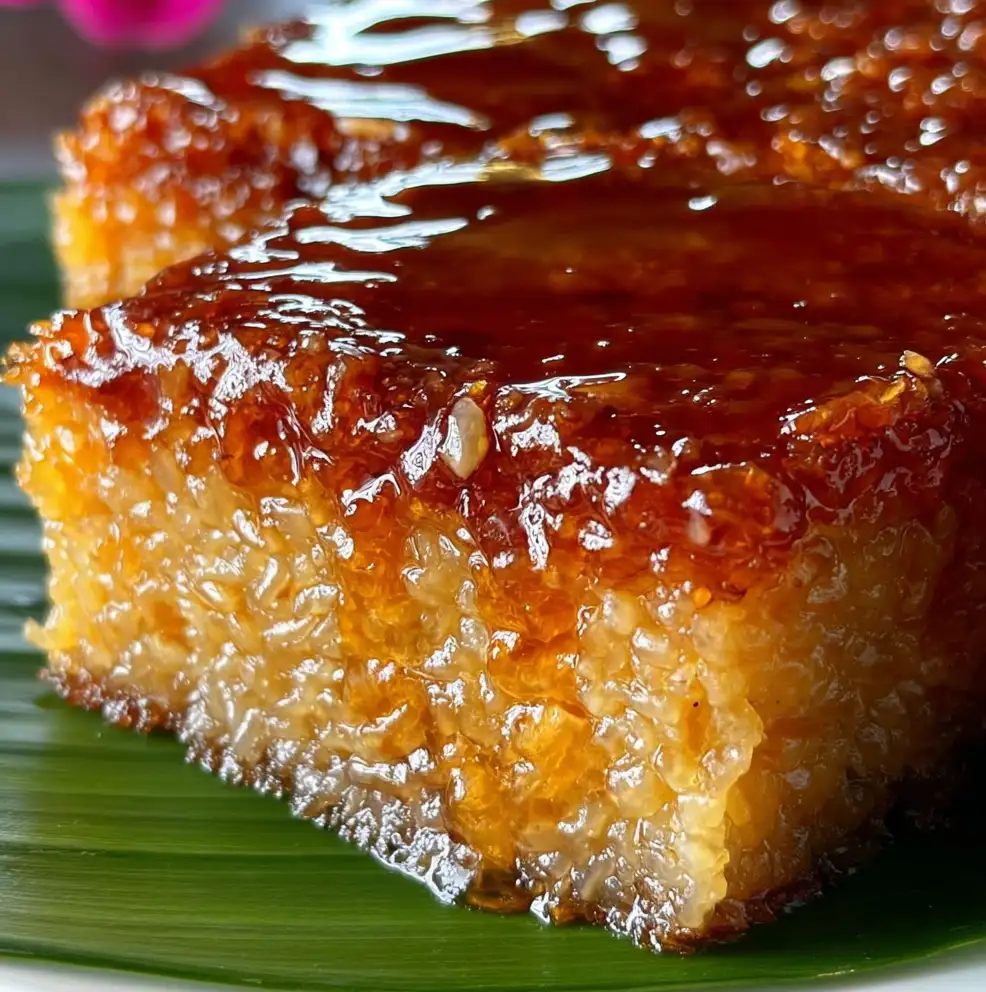
Biko is a beloved Filipino rice cake made from glutinous rice, coconut milk, and brown sugar. It’s often topped with “latik,” which are crunchy coconut milk curds, adding another layer of flavor and texture.
This dessert holds a special place in Filipino culture, frequently appearing at fiestas, holidays, and regular family meals. Its sticky consistency symbolizes unity and closeness, making it a meaningful dish.
Why This Easy Biko Recipe is Perfect For You
You might think making traditional Filipino desserts is complicated, but this easy Biko recipe breaks it down into manageable steps. We focus on clear instructions and readily available ingredients.
This recipe is designed for both novice and experienced cooks. By following our guide, you’ll achieve a perfect balance of sweetness and a wonderfully sticky texture every time. You’ll love this homemade version more than any store-bought alternative!
Essential Ingredients for Filipino Sweet Rice
Gathering your ingredients transforms this from a dream to a delicious reality. Quality ingredients make all the difference for this traditional glutinous rice dessert.
- 2 cups glutinous rice (also known as sweet rice or malagkit)
- 4 cups coconut milk (preferably full-fat for richness)
- 1 cup brown sugar, packed
- 1/2 teaspoon salt
- (Optional) For Latik: 1-2 cups additional coconut milk
Step-by-Step Instructions: Making Easy Biko
Let’s dive into the core of this wonderful dessert. Each step is crucial for achieving that perfect chewy and sweet outcome. Master this easy Biko recipe with confidence!
Step 1: Preparing Your Glutinous Rice
Rinse the glutinous rice thoroughly under cold water until the water runs clear. This removes excess starch and ensures a clean flavor.
Soak the rinsed rice in 2 cups of the coconut milk for at least 30 minutes, or up to an hour. This helps the rice absorb moisture and cook more evenly.
Step 2: Crafting the Rich Coconut Milk Base
In a large, non-stick pot or wok, combine the remaining 2 cups of coconut milk, brown sugar, and salt. Cook over medium heat, stirring constantly, until the sugar dissolves and the mixture thickens slightly.
Bring this mixture to a gentle boil, then reduce the heat to low. Continue to simmer, stirring occasionally, until it reaches a rich, syrupy consistency. This flavor base is key to your delicious biko.
Step 3: Combining and Cooking the Biko Mixture
Drain any unabsorbed coconut milk from your soaked glutinous rice. Add the soaked glutinous rice to the simmering coconut milk mixture in the pot.
Stir continuously to prevent sticking, ensuring the rice is evenly coated with the sweet coconut sauce. Cook until the rice absorbs almost all the liquid and becomes very thick and sticky, about 15-20 minutes. It should be hard to stir.
Step 4: Baking or Steaming to Perfection
Preheat your oven to 350°F (175°C). Lightly grease an 8×8 or 9×9 inch baking dish with a little coconut oil.
Press the cooked sticky rice mixture firmly and evenly into the prepared dish. If you’re steaming, transfer it to a heatproof dish and steam for 30-40 minutes.
Step 5: Creating the Latik Topping
If making latik, pour 1-2 cups of additional coconut milk into a pan and simmer over medium heat. Continue cooking, stirring occasionally, until the liquid evaporates and coconut oil begins to render.
The solids will separate and turn golden brown and crispy. These are your latik! Carefully scoop them out and drain on paper towels. Drizzle the rendered coconut oil over your biko before adding the latik.
Bake the biko in the preheated oven for 20-30 minutes, or until the top is golden brown and slightly firm. If using latik, sprinkle them generously over the top during the last 5-10 minutes of baking, or after it’s baked.
Pro Tips for the Best Biko
For an extra rich flavor, toast your glutinous rice lightly before soaking. This adds a nutty aroma to your Filipino sweet rice.
Always use full-fat coconut milk to achieve the creamy texture and authentic taste. Don’t skimp on the quality!
A little patience goes a long way when stirring the rice. Preventing sticking ensures a uniform, delicious consistency without burnt bits.
You can adjust the sweetness of the biko by adding more or less brown sugar according to your preference. Remember, authentic biko is quite sweet.
Suggested Serving and Storage
Allow your freshly made biko to cool completely before slicing and serving. This allows it to set properly, making for clean, beautiful pieces.
Biko is delicious served warm or at room temperature. It pairs wonderfully with a cup of coffee or tea.
Store leftover biko in an airtight container at room temperature for up to 2 days, or in the refrigerator for up to 5 days. You can gently reheat it in the microwave or oven.
Common Questions About Biko
FAQ
What is the difference between glutinous rice and regular rice?
Glutinous rice, also known as sweet rice, is a type of rice that becomes very sticky when cooked. It contains a high amount of amylopectin, which gives it its characteristic chewy texture, unlike regular rice which cooks up fluffy.
Can I make Biko without Latik?
Absolutely! While latik adds a wonderful golden brown, crunchy topping and extra coconut flavor, biko is still delicious without it. You can skip Step 5 if you prefer a simpler version.
How do I prevent my Biko from sticking to the pan?
Using a good quality non-stick pot for cooking the rice mixture and properly greasing your baking dish are key. Lining the baking dish with parchment paper can also help immensely, especially if you’re worried about sticking.