
")
Mini Pumpkin Pie: 5 Easy Steps for Delicious Bites
There’s something undeniably magical about the aroma of pumpkin spice wafting through your kitchen, signaling the arrival of fall. This year, why not elevate your autumn baking with a delightful twist? We’re diving into the wonderful world of mini pumpkin pie, offering you a recipe that’s not only incredibly simple but also yields perfectly portioned, adorable treats.
Forget the fuss of slicing a large pie; these individual delights are ready to impress. Get ready to bake up some joy with our easy pumpkin pie recipe that promises delicious bites every time. These miniature marvels are perfect for any gathering, big or small!
Table of Contents
- 1. Introduction: Fall Flavors in Miniature Form
- 2. Why You’ll Love This Mini Pumpkin Pie: 5 Easy Steps for Delicious Bites
- 3. Simple Ingredients You’ll Need
- 3.1. For the Crust
- 3.2. For the Pumpkin Filling
- 4. 5 Easy Steps to Make Mini Pumpkin Pies
- 4.1. Step 1: Prepare the Crusts
- 4.2. Step 2: Mix the Pumpkin Filling
- 4.3. Step 3: Fill the Mini Pie Crusts
- 4.4. Step 4: Bake to Golden Perfection
- 4.5. Step 5: Cool and Enjoy!
- 5. Expert Tips & Delicious Variations
- 6. Serving Ideas and Pairings
1. Introduction: Fall Flavors in Miniature Form
Welcome, fellow dessert lovers! Today, we’re embarking on a delicious journey to create the ultimate mini pumpkin pie. These little bundles of joy are perfect for holiday baking, autumn gatherings, or simply a cozy treat at home.
Imagine perfectly spiced pumpkin filling nestled in a flaky crust, all in a delightful bite-sized form. This recipe takes the classic flavors you adore and makes them even more convenient and charming. You’ll love how simple these are to prepare!
2. Why You’ll Love This Mini Pumpkin Pie: 5 Easy Steps for Delicious Bites
These individual mini pumpkin pies are a game-changer for several reasons. Firstly, their small size means no messy slicing and serving; everyone gets their own perfect portion.
Secondly, they bake faster than a traditional pie, cutting down on your waiting time! Finally, they are incredibly customizable, allowing for creative toppings and presentations. This easy pumpkin pie recipe is truly a crowd-plepleaser.
3. Simple Ingredients You’ll Need
Gathering your ingredients is the first step towards these delightful mini pumpkin pie treats. Most of these items are probably already in your pantry!
For best results, ensure your pumpkin puree is 100% pure pumpkin, not pumpkin pie filling. Fresh spices make all the difference in flavor intensity.
3.1. For the Crust
- 1 (14.1-ounce) package refrigerated pie crusts (2 crusts total)
- Flour, for dusting
3.2. For the Pumpkin Filling
- 1 (15-ounce) can pumpkin puree
- 1/2 cup granulated sugar
- 1/4 cup packed light brown sugar
- 1 teaspoon ground cinnamon
- 1/2 teaspoon ground ginger
- 1/4 teaspoon ground cloves
- 1/4 teaspoon ground nutmeg
- 1/2 teaspoon salt
- 2 large eggs, lightly beaten
- 1 cup heavy cream
- 1/4 cup milk (whole or 2%)
- 1 teaspoon vanilla extract
4. 5 Easy Steps to Make Mini Pumpkin Pies
Ready to get baking? Follow these simple instructions for the best mini pumpkin pie you’ve ever made. This comprehensive guide will walk you through each step.
Making these bite-sized desserts is an enjoyable process, and the aroma alone is worth the effort! These fall dessert recipes are always a hit.
4.1. Step 1: Prepare the Crusts
- Preheat your oven to 375°F (190°C). Lightly grease a 12-cup muffin tin.
- Unroll one pie crust onto a lightly floured surface. Using a 3-inch round cookie cutter (or a glass rim), cut out 12 circles.
- Gently press each crust circle into the prepared muffin cups, molding it to fit the bottom and sides. Repeat with the second pie crust for more pies, or save for another recipe.
4.2. Step 2: Mix the Pumpkin Filling
- In a large bowl, whisk together the pumpkin puree, granulated sugar, brown sugar, cinnamon, ginger, cloves, nutmeg, and salt until well combined.
- In a separate small bowl, whisk the lightly beaten eggs, heavy cream, milk, and vanilla extract until smooth.
- Gradually add the wet ingredients to the pumpkin mixture, whisking constantly until the filling is perfectly smooth and lump-free.
4.3. Step 3: Fill the Mini Pie Crusts
- Carefully pour the pumpkin filling into each prepared pie crust in the muffin tin. Fill each cup about two-thirds full to allow for expansion during baking.
- Be mindful not to overfill, as this can lead to spillage and cracking during baking. A small ladle or measuring cup with a spout works best for this.
4.4. Step 4: Bake to Golden Perfection
- Bake the mini pumpkin pies in the preheated oven for 25-30 minutes, or until the edges of the crust are golden brown and the filling is set.
- To check for doneness, gently shake the muffin tin; the centers of the pies should have only a slight jiggle. Avoid over-baking, which can dry out the filling.
4.5. Step 5: Cool and Enjoy!
- Once baked, remove the muffin tin from the oven and let the mini pies cool in the tin for 10-15 minutes. This helps them firm up and prevents sticking.
- Carefully remove the mini pumpkin pies from the muffin tin and transfer them to a wire rack to cool completely. They are best served chilled, perhaps with a dollop of whipped cream!
5. Expert Tips & Delicious Variations
Making these mini pumpkin pie treats is wonderfully forgiving, but a few expert tips can elevate your results. For an extra flaky crust, ensure your pie dough is very cold before cutting and pressing into the muffin tin.
Consider adding a pinch of white pepper to the pumpkin filling; it subtly enhances the spice blend without adding heat. You can also experiment with different crusts, like gingersnap or graham cracker crumbs, for unique holiday baking flair. For more pie crust tips, check out King Arthur Baking.
6. Serving Ideas and Pairings
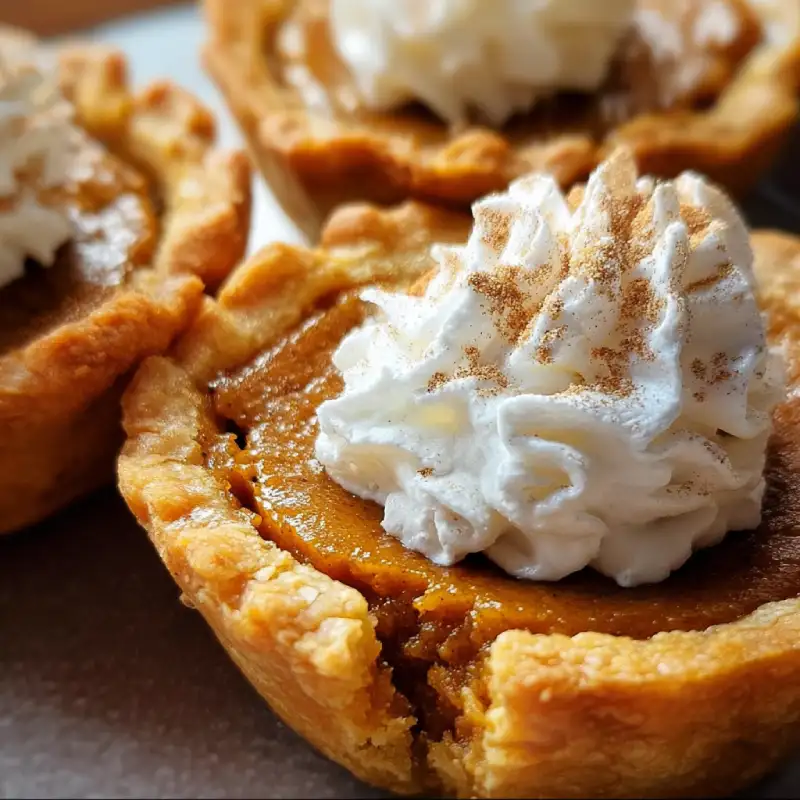
These adorable mini pumpkin pies are fantastic on their own, but they truly shine with a few thoughtful additions. A generous dollop of freshly whipped cream is a classic choice, perhaps dusted with a sprinkle of cinnamon.
Consider serving them alongside a warm cup of spiced cider or a rich coffee for a cozy autumn experience. These bite-sized desserts also make excellent contributions to Thanksgiving dessert spreads or potlucks. See others recipes here .
Foire Aux Questions
Can I make mini pumpkin pies ahead of time?
Absolutely! Mini pumpkin pies are perfect for making in advance. You can bake them 1-2 days before serving. Once completely cooled, store them in an airtight container in the refrigerator. This makes them an ideal choice for busy holiday preparations or meal prepping your desserts.
How should I store leftover mini pumpkin pies?
Leftover mini pumpkin pies should be stored in an airtight container in the refrigerator for up to 3-4 days. Pumpkin pie filling is custard-based and requires refrigeration to maintain its freshness and prevent spoilage. For best taste, allow them to come to room temperature for a few minutes before serving, or enjoy them chilled.
Can I freeze mini pumpkin pies?
Yes, you can freeze mini pumpkin pies! Once completely cooled, place them in a single layer on a baking sheet and freeze until solid (about 2-3 hours). Then, transfer them to a freezer-safe airtight container or freezer bags, separating layers with parchment paper. They can be frozen for up to 1 month. Thaw overnight in the refrigerator before serving.